Fried Chicken: Rounds 1, 2 & 3…
So, some time ago, one of my brothers posted some pics of fried chicken to our brothers WhatsApp group. Drooling over the pics, I asked where he got the recipe, and he said he used this recipe. Well, naturally I had to give it a go. Rather than doing three separate posts about it, I figured, let’s just do one big post.
So, I’m sure you’ve heard of buttermilk fried chicken, and the recipe I’ve linked to also explains it, but why buttermilk?
Buttermilk is slightly acidic, so as the chicken marinates, the buttermilk breaks down the proteins in the chicken, tenderising it. This is especially important in fried chicken because especially when it’s on the bone, you don’t tend to eat it with a knife and fork. Even if you do, because of the combination of the crispy outer coating, you want that chicken to just easily fall away, whilst remaining really succulent.
The first time round, though, was right after New Year’s Day (i.e. literally, the 2nd January). So when I went to the shops to try and find buttermilk, buttermilk I did not find. Not to worry! I had milk, and I had lemons. So the juice of one lemon in about 500ml of milk – after about 10-15 minutes, you’re good to go.
I marinated the chicken the first time round for around 4 hours, as whilst I had planned for fried chicken, with the New Year’s festivities I didn’t get around to sorting it the night before. Ideally you want to give it 24 hours.
After that, it comes out, shake off the excess, and into the flour mix. Then, deep fry until delicious.
OK… there’s a bit more to it than that, so let’s stop faffing and get on with it.
The Marinade / Wet Mix
So, the amount of buttermilk and other ingredients I used has varied wildly over the 3 attempts, because the amount of chicken I have used has varied wildly. I’ve also varied on and off the bone. The below is my take on the recipe linked above.
- Around 750ml of buttermilk; if you go above 750ml I’d scale up the spices below accordingly.
- 1 tbsp sweet smoked paprika
- 1 tsp cayenne pepper
- 2 tsp white pepper
- 2 tsp onion powder/granules
- 2 tsp garlic powder/granules
- 2 tsp salt
Mix all the above together, in the chicken goes, and give it a good mix. Make sure to get your hands in there and really make sure all the chicken has a good covering of the mix, and then cover it in clingfilm and leave for up to 24 hours.
The Fun Part / Dry Mix
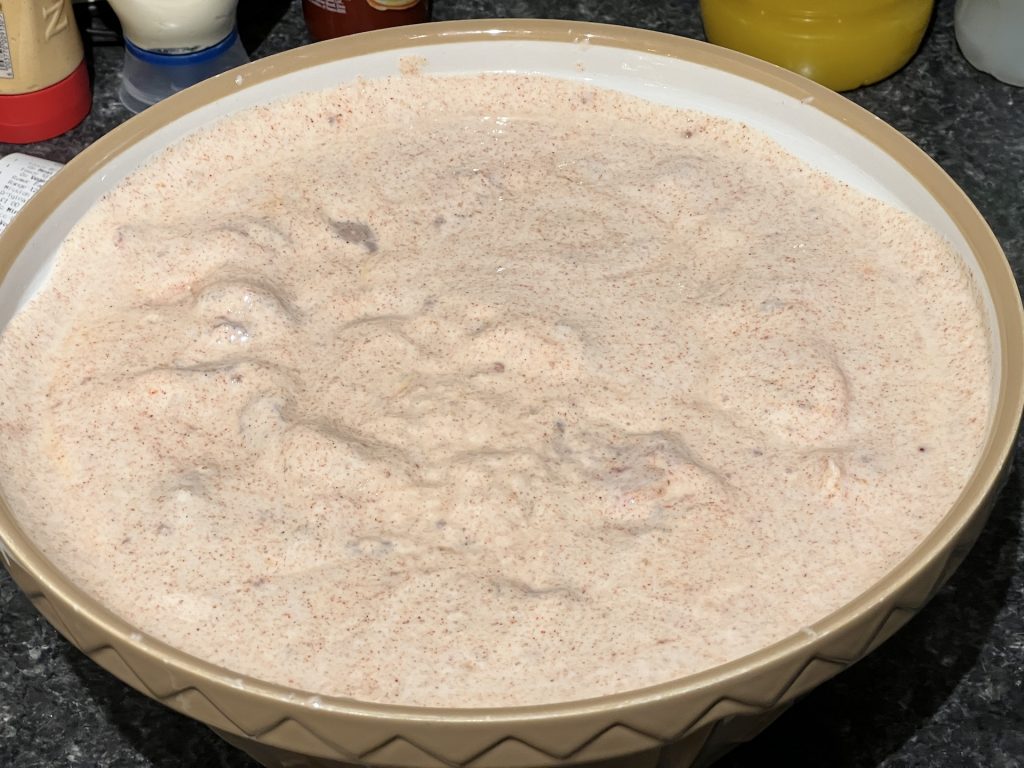
OK so get a nice big bowl. The bigger the better. You want to be cautious of too much buttermilk come off with the chicken and over time the flour mix just goes clumpy/like paste. At that point, one of two things will happen. Either your mix will get too thick and the coating won’t be nice, or it just won’t stick.
- 800g Plain Flour
- 2-3 tbsp Paprika
- 4 tsp Oregano
- 4 tsp Baking Powder
- 3 tsp Salt
- 1 tsp Thyme
- 2 tsp Onion Powder/granules
- 2 tsp Garlic Powder/granules
- 3 tsp Black Pepper
- 1 tsp Cayenne Pepper
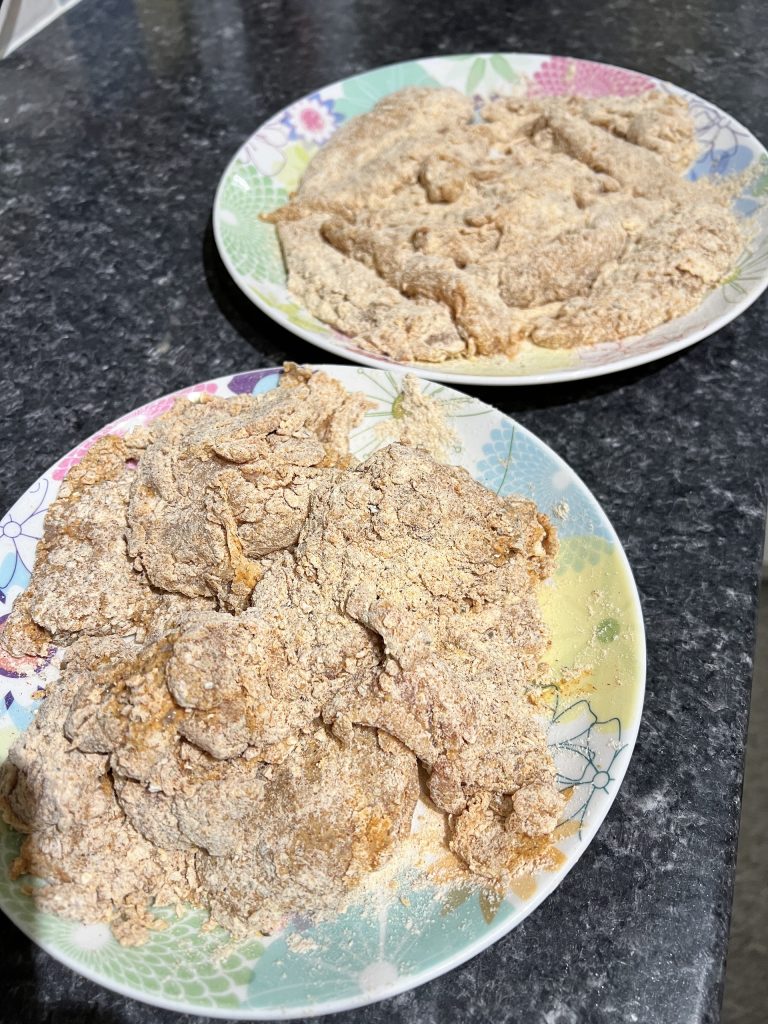
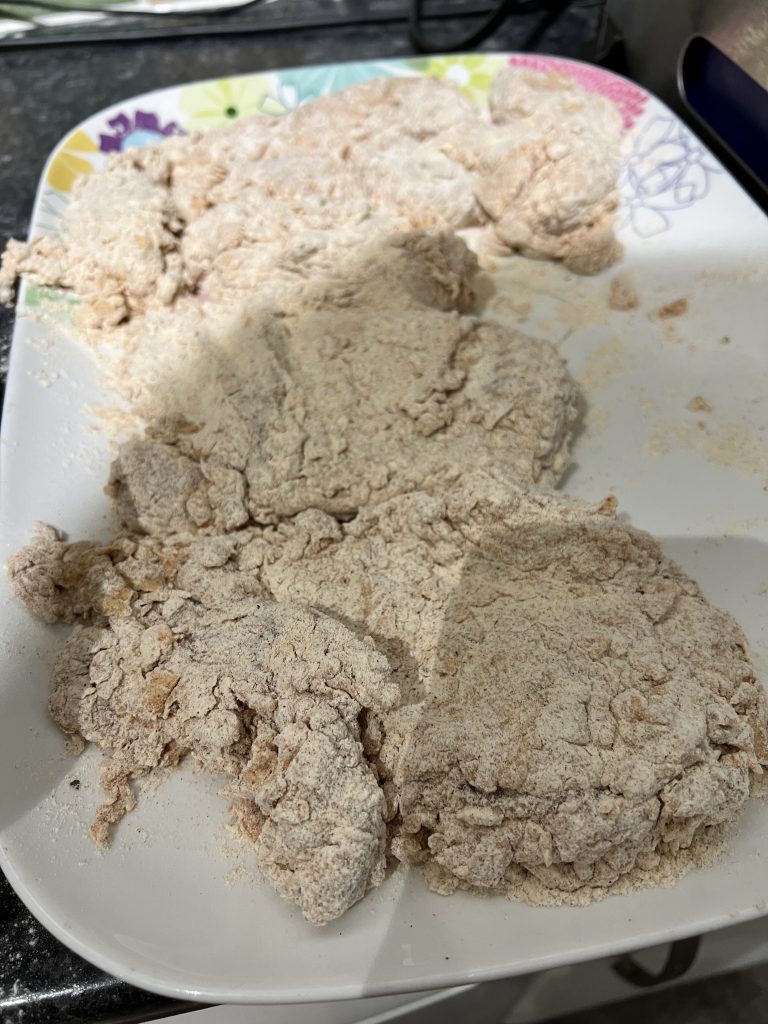
Use a whisk to mix that all up so it’s looking fully blended. Then, take a piece of chicken out and coat it in the flour. Now, as I mentioned you have to be careful not to have too much buttermilk coming off here. You want some, because you want it to have a nice coating with the mix, but too much and it really ruins it.
On round 1, the buttermilk mix wasn’t thick as it was milk and lemon juice. So I didn’t have the problem of round 2, where by the end of it, I had to make another batch of flour because it had fully clumped up and wasn’t sticking. Round 3, I scraped off most of the buttermilk, so you could still see it was on the chicken, but it wasn’t thick (and round 3 worked best).
First time round, I used a small saucepan filled with oil up to about half way, got it to 170c and just fried the chicken off in batches.
Second and third time around, I used a deep fryer. This was significantly easier, but you still have to do it in batches (unless you have a KFC still fryer, in which case, what are you doing reading this blog?)
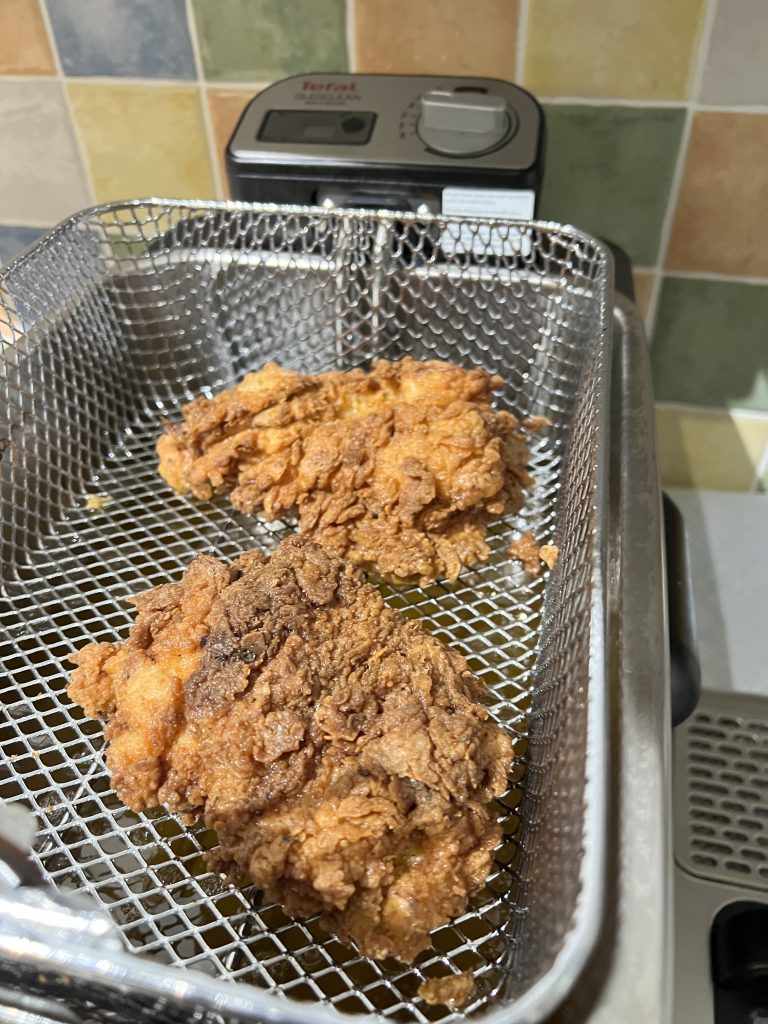
A tip my brother gave me which I thought was excellent, was that you put the chicken in (and this only really works easily if you have a deep fryer) and as soon as the temp drops below the 170c mark, take it out, and wait for it to get back to temperature. The reason for doing so is that if it’s not up to temp, the chicken absorbs more of the oil and so becomes more greasy/soggy.
I cook using a meat thermometer, but would say if you’re doing just boneless chicken, you can probably fry for about 5-7 minutes for smaller pieces. What we did the third time round (which worked best) was to fry for that short amount of time regardless, then finish off in the oven. Important: when finishing off in the oven, make sure it’s going on a tray with a rack/grill, you don’t want them sitting straight on a baking tray or they’ll go soggy.
This was by far the best fried chicken I’ve had, even when it went a bit round in round 2 (I got 12 boneless thighs in, but because of the size of them and because of leaving too much buttermilk on, that was what caused me a lot of the flour issues).
So on to the pics!
Round 1
Just after coating:
After frying:
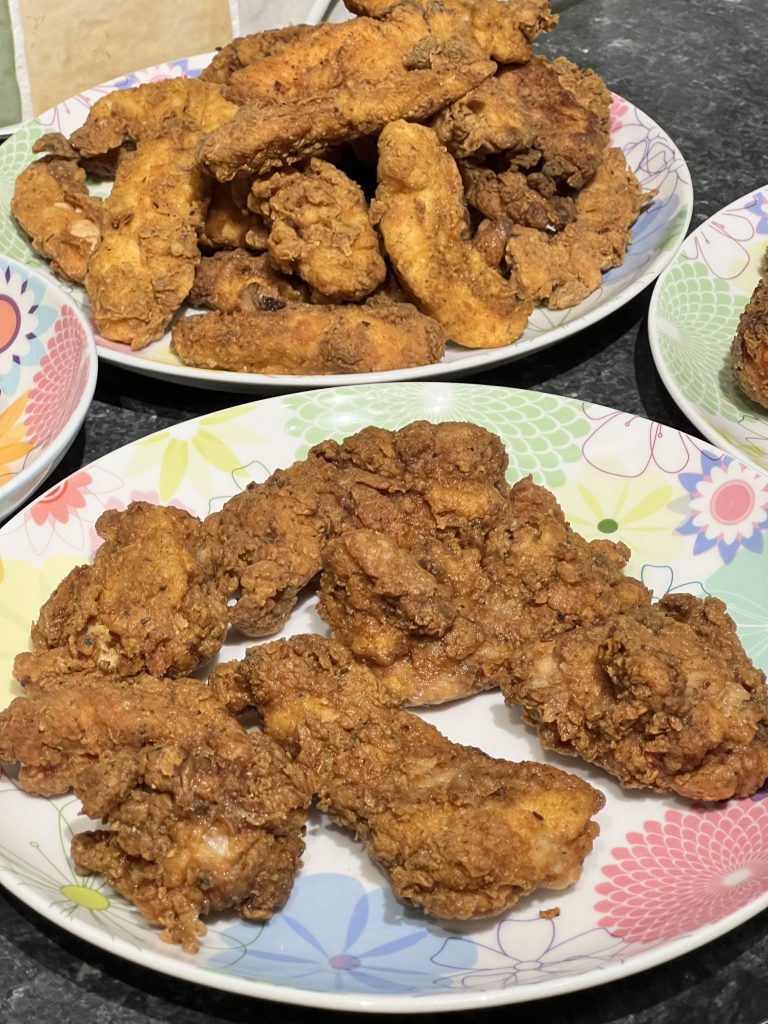
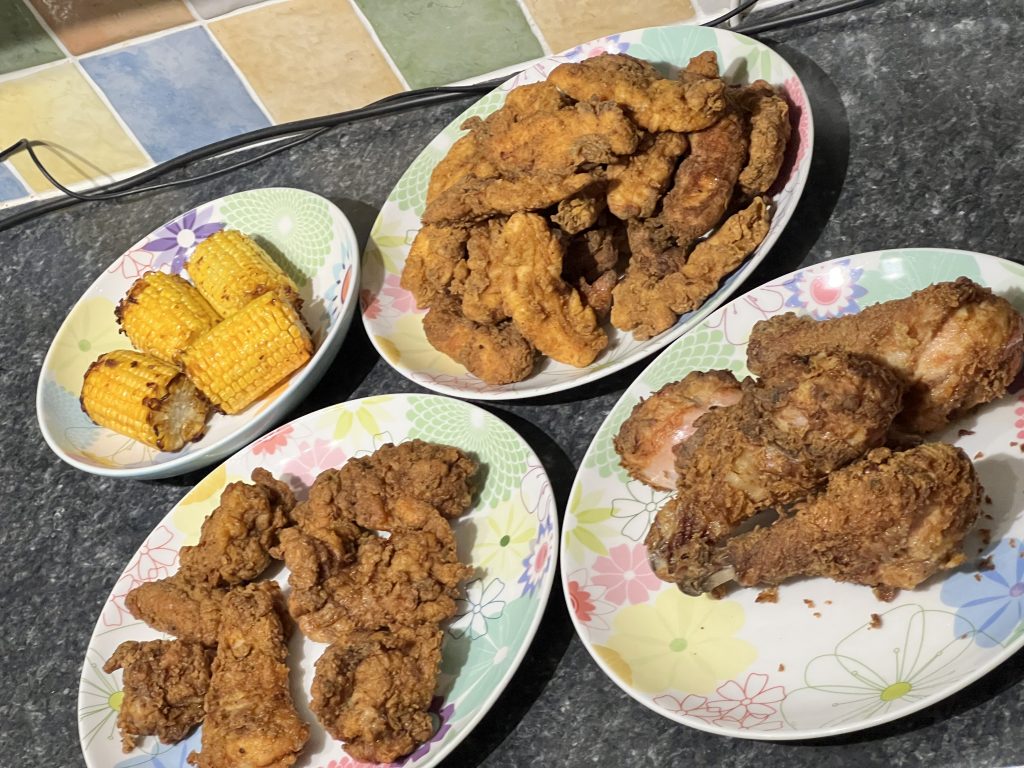
Yes, that was epic. The drumsticks had dried out in the oven because I’d had the oven up too high and not watched them. Make a note of that. 150-170c is a good temp but if you can, have two ovens on. One at 50c to keep it hot, and one at 150-170c to finish it off if it’s a bigger bit of chicken or on the bone.
The obvious statement of “cook until juices run clear / the meat is white” apply, but otherwise use a meat thermometer and make sure the biggest/thickest part of the chicken is up to 75c.
Round 2
The wet mix:
After coating:
Whilst frying:
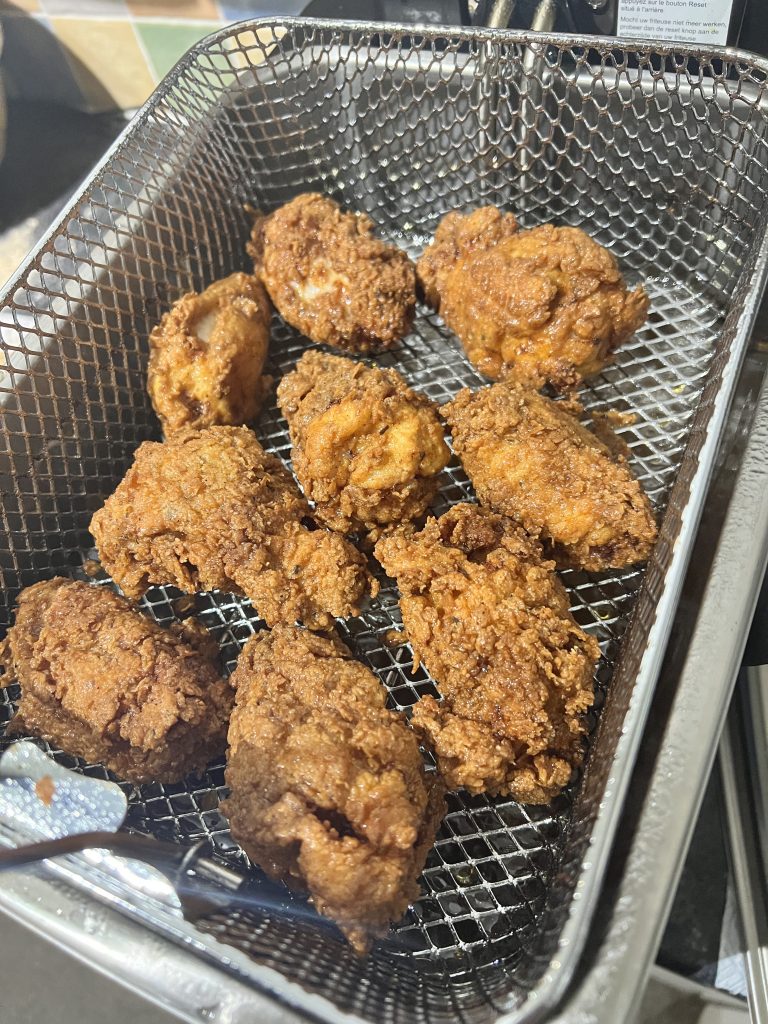
After frying the ridiculously huge amount of chicken we bought:
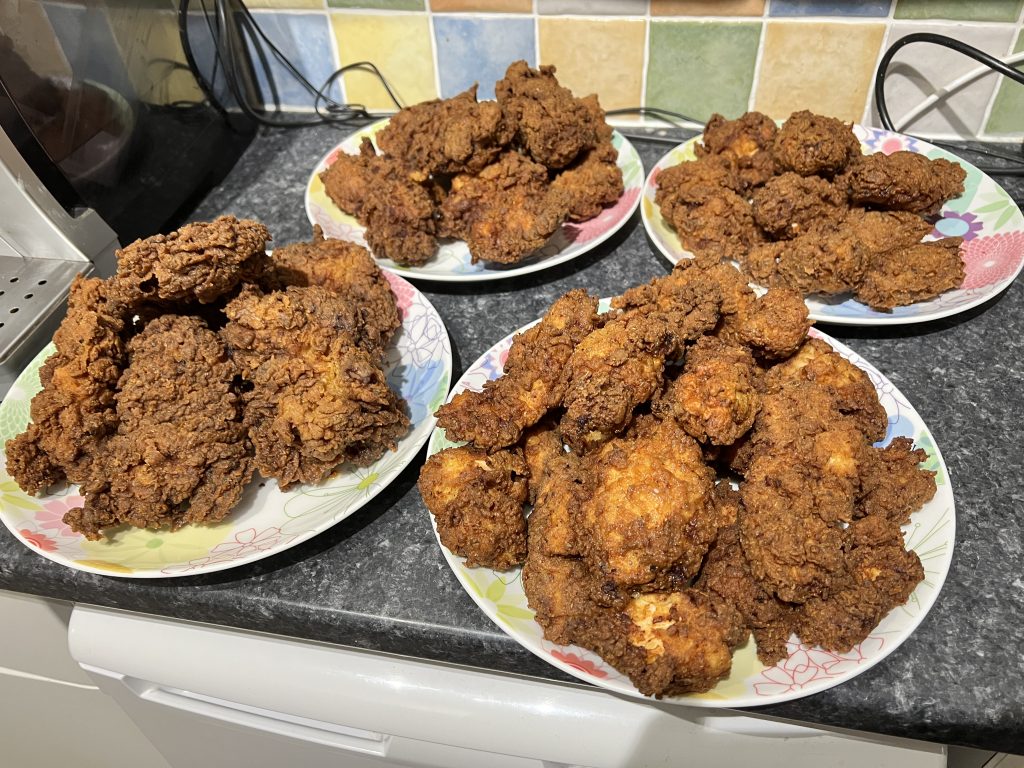
And because that amount of fried chicken wasn’t enough, we also did some Mac ‘n Cheese (but I did it the lazy way – microwave versions… this time….) – and my friend Adam made a cracking good coleslaw to go with it too:
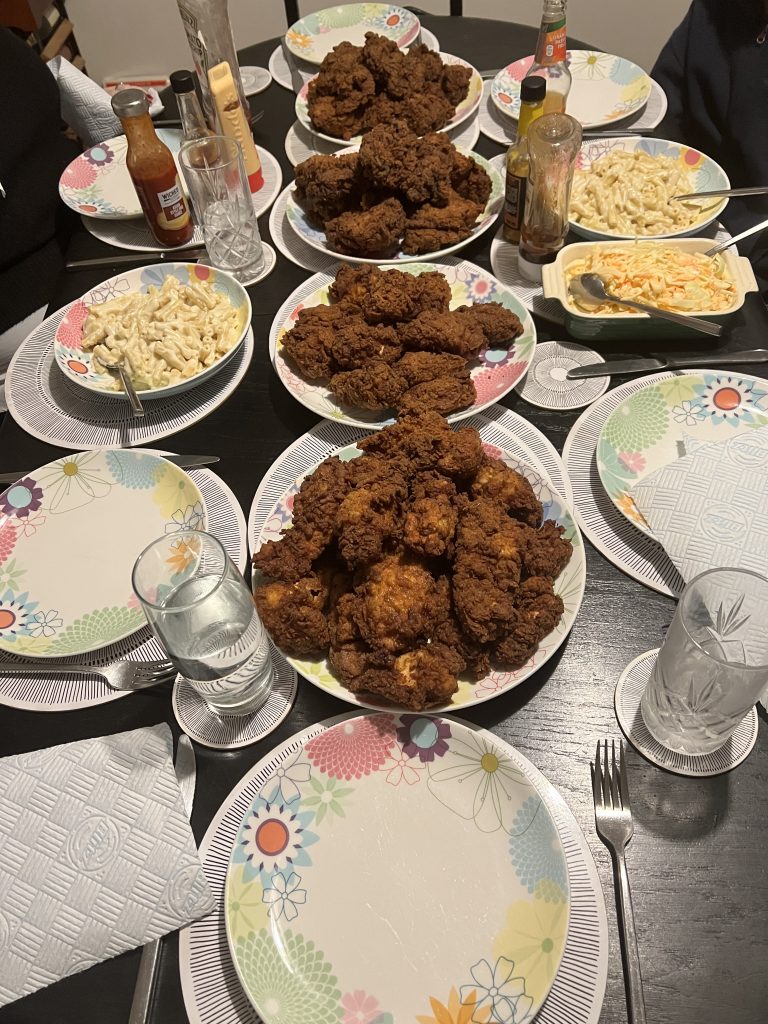
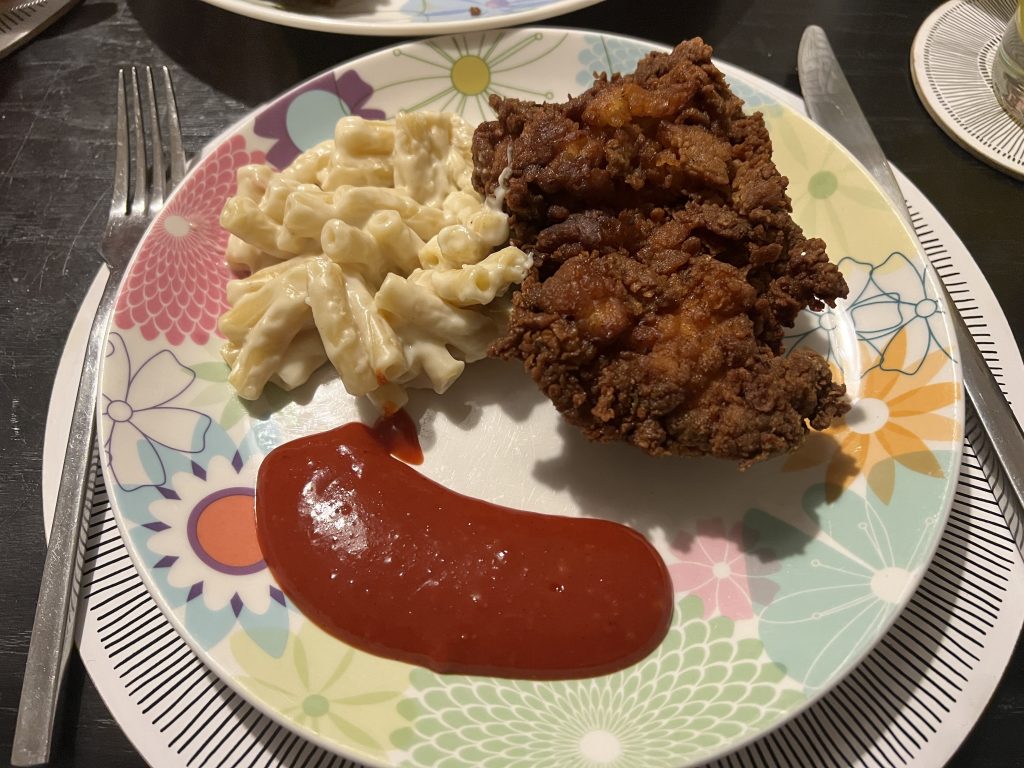
Yes, it was epic. Yes, some of it was a bit burnt. Yes, some of the crust was too thick. But it was epic.
OK so finally…
Round 3
I didn’t get as many photos this time round; I was at my brother’s and most of the time wasn’t even thinking about taking photos. So in fact, you only have the ‘after’ photos. But what’s important to see in these photos, is just how much lighter the batter looked, and how much thinner it looked. It was by far the best fried chicken I’ve had.
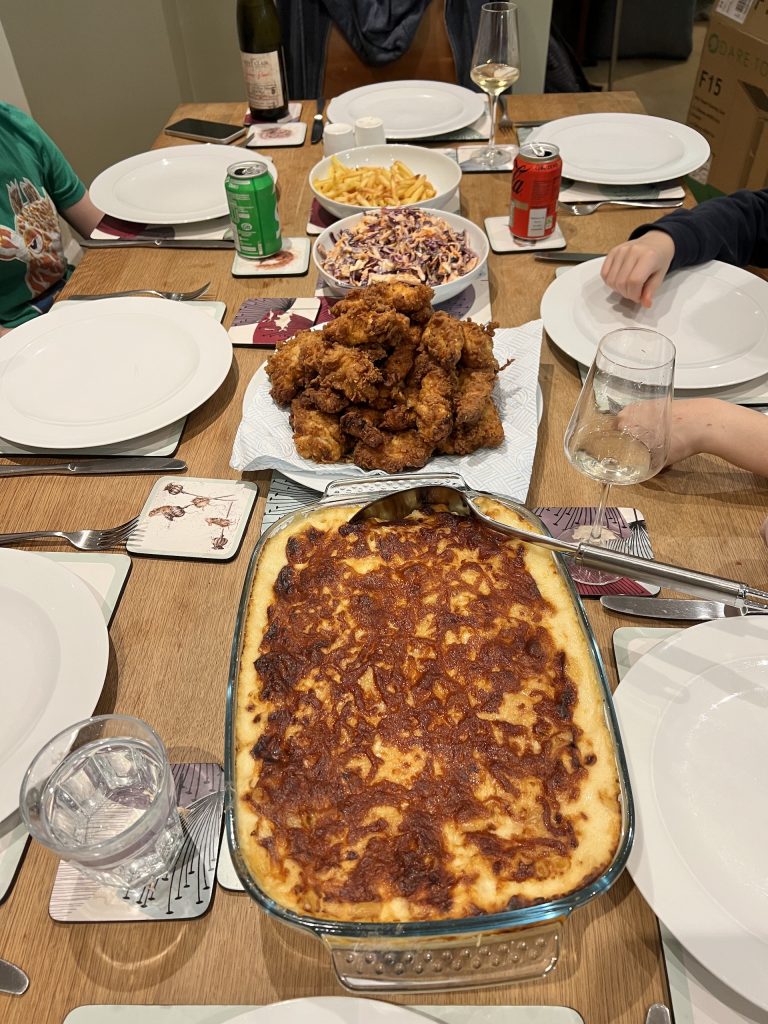
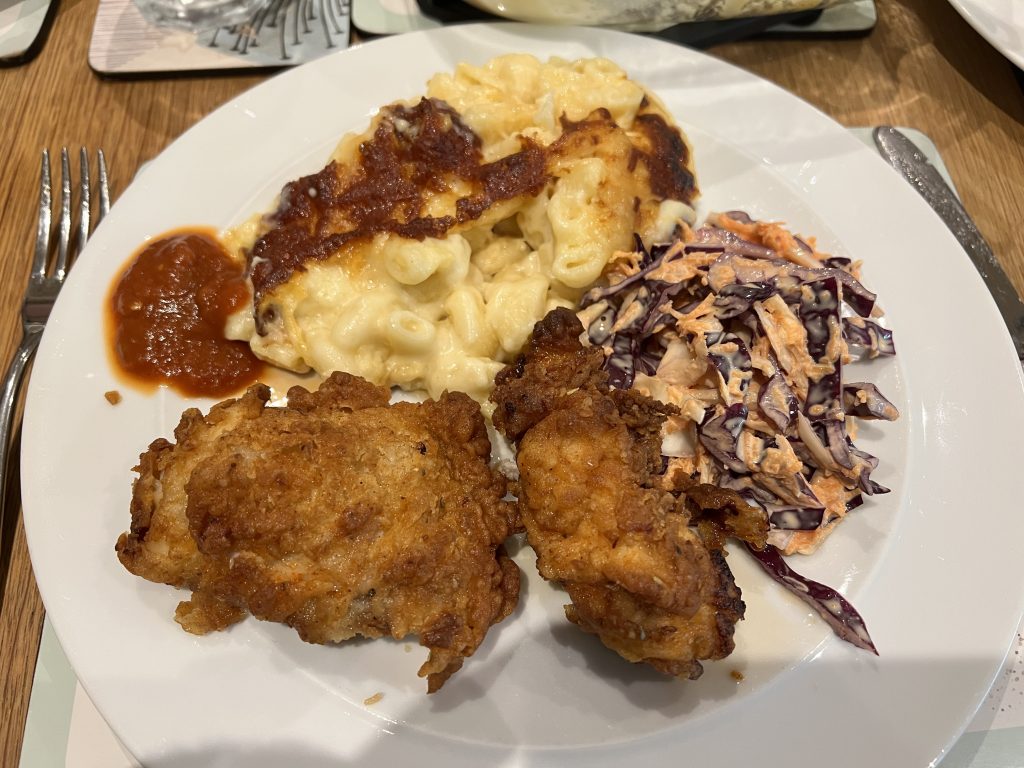
Yes, that’s home made Mac ‘n Cheese and “Emergency Coleslaw”. The emergency was we’d literally just dished up and remembered we hadn’t made it, so I threw it together in record time. But who cares because that fried chicken was just… perfect!